
A great way add meaning to Christmas presents is gifting handmade. Handmade gifts showcase the heart and talent and allows personal touches specific for the giftee (i.e. favourite colour, flavour, saying- the possibilities are endless!) Handmade gifts are also extremely cost effective. From now till Christmas, I will be sharing three holiday gift ideas that cost less than $10 to make.

First up, a guest post from our good friend Kelly at the Purple Workbench. Purple Workbench is a creative space to make, bake, sew, and craft! Visit the blog for inspiration or join a Purple Workbench event for an opportunity to let the creative juices flow. Kelly always ensures participants are well-fed (chocolate cake, anyone?) and stuffed to the brim.
—–
Zipper Tree Christmas Ornament
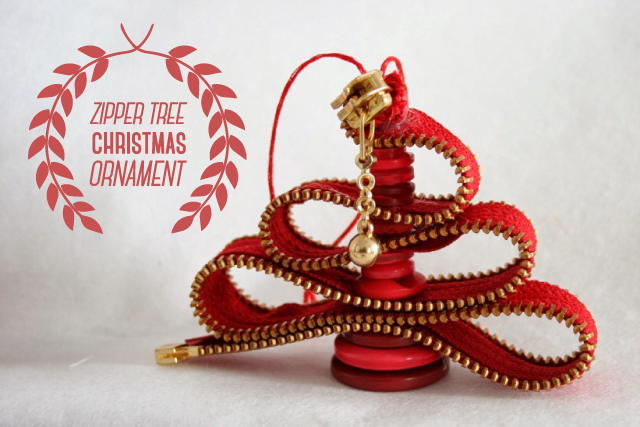
It’s always fun making your own ornaments and they make great hostess gifts at this time of year. This is a nice homemade ornament with a polished look, but is simple enough to make with just a glue gun and minimal hand sewing! Kids can also be involved with this craft, by picking out the buttons and stick them together with the glue gun with the help and supervision of an adult.
Each ornament costs only $3 to make!
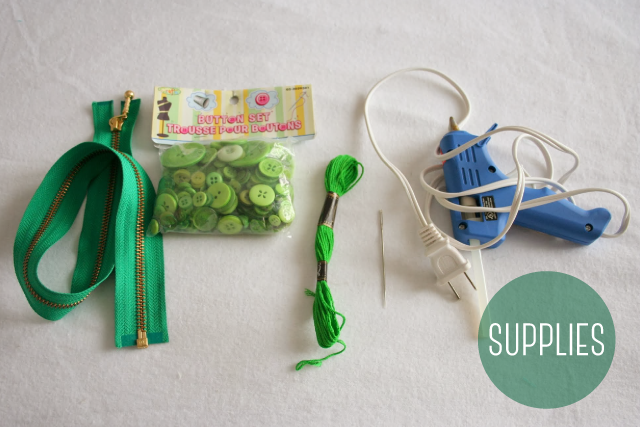
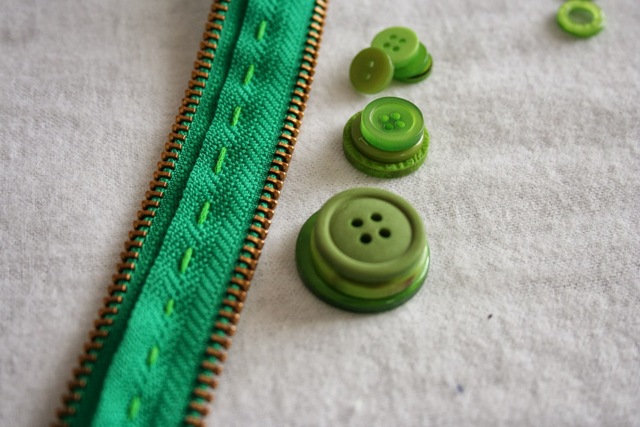
Materials
[table width=”600px” class=”table table-bordered” colwidth=”480|120″]
Material, Cost
1 metal zipper 15″-20″ long, $2
Coordinating embroidery floss, $0.25
Matching buttons of varying sizes, $1/bag from the dollar store
Glue sticks and glue gun, “”
Embroidery needle~~
(or any needle that can be thread with the embroidery floss), “”
[/table]
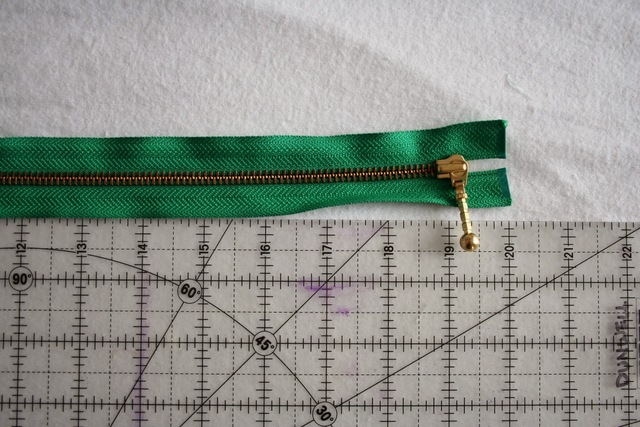 Let’s talk a bit about the zipper. I always buy my zippers from the Leather and Sewing Supply Depot in Toronto. It’s a usual Toronto sewing supply store: incredibly chaotic but supply pretty much anything you need and at a reasonable price. For this project, you want a metal zipper (aluminum is cheaper than brass) and preferably one that separates at the end. If you can’t find one that separates, you can just cut the end off. Most cities will have a luggage repair store that will sell zippers for less than what you find at a craft store. The green zipper I used is 20″ long; the red ornament was 18″ long. A minimum of 15″ is recommended; the shorter the zipper, the thinner your tree.

Enough talk. Let’s get started!
Instructions
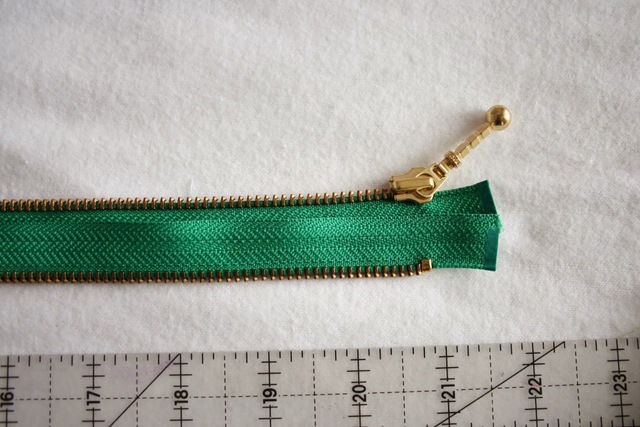 1. Separate the zipper. Place the zippers on top of each other, with the teeth of the zipper on the outside. You can pin the two pieces in place if you wish.
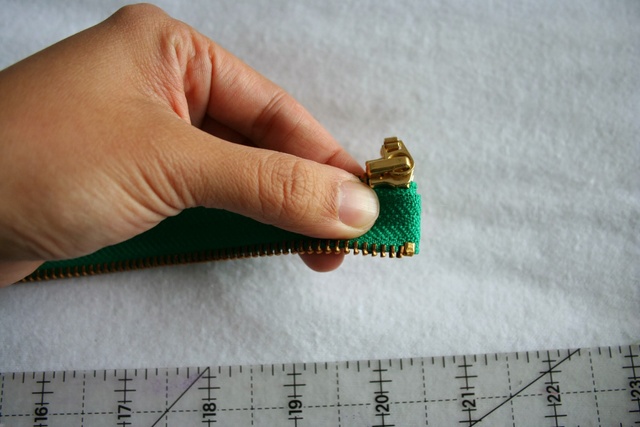
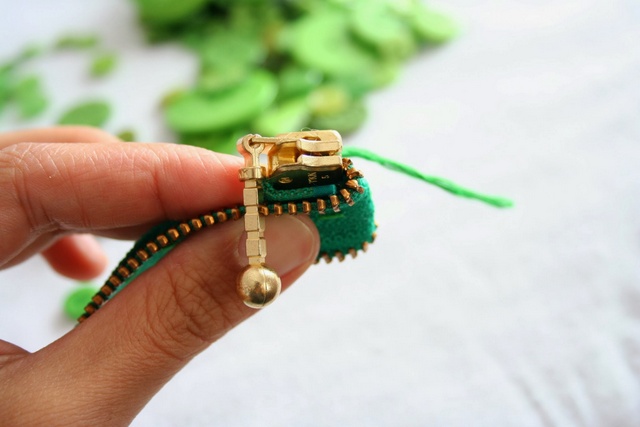
 2. Thread your needle with the embroidery floss and tie a knot at the end of the thread. Start with the zipper’s top end. Fold the extra zipper fabric under and sew it in place with two stitches.
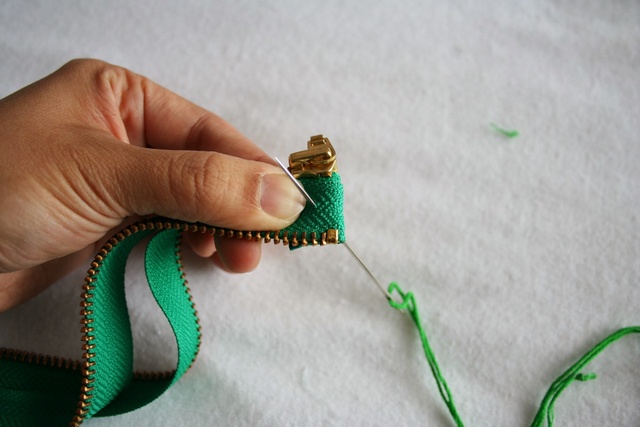
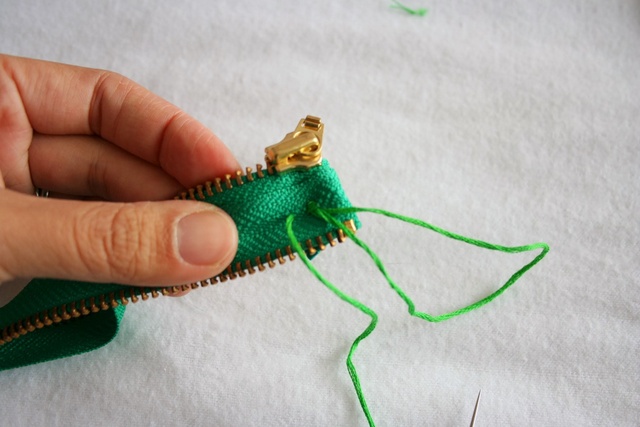 3. On the third stitch, leave a length of floss to be used as the loop to hang the ornament.
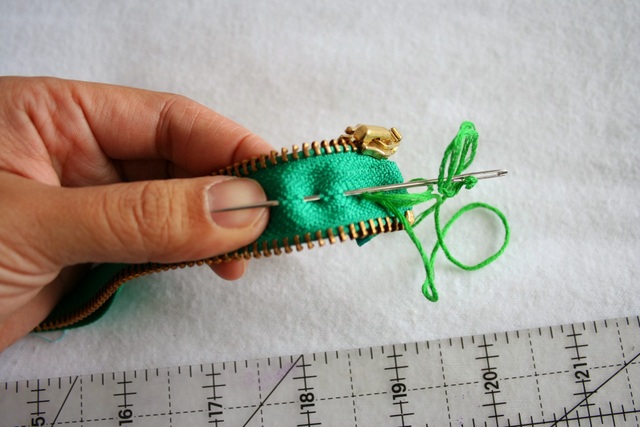
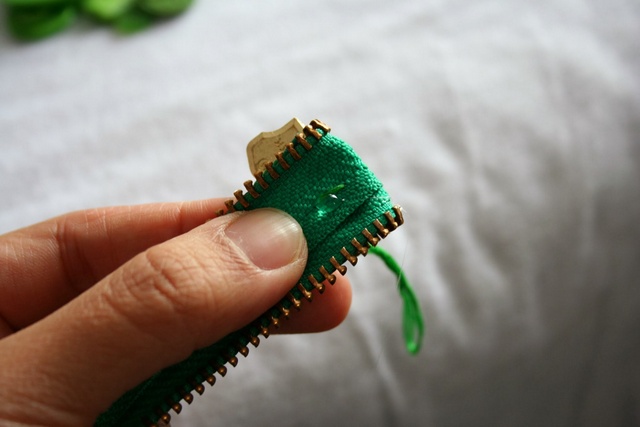
 4. Continue stitching down the length of the zipper.
5. Pour out all the buttons and make little piles of small, medium, and large. Depending on the length of your zipper, you may need three or four pieces of “trunk” that are made up of 3 or 4 buttons each.

6. Glue your trunk pieces together with the glue gun. You will be using the smallest trunk first.
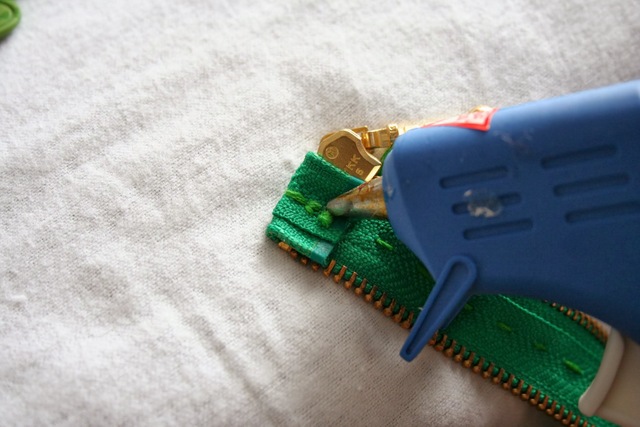
7. Starting again at the top of your zipper, place some glue on the knot of your embroidery thread. This is the same part that you turned under and sewed into place.
8. Fold the zipper onto the glue to make your first section of your tree.
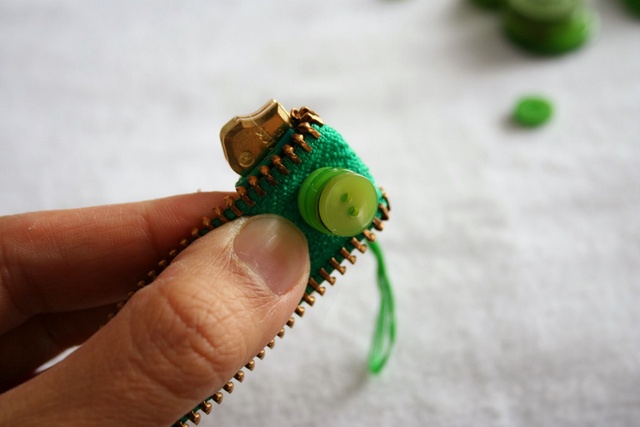
9. Place some glue on the underside of your zipper and stick the first trunk section on.
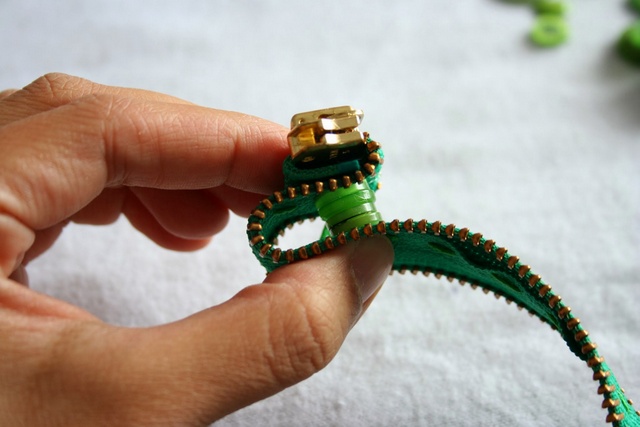
10. Glue the bottom of the trunk to the next section of zipper, making sure you give a little slack in the zipper.
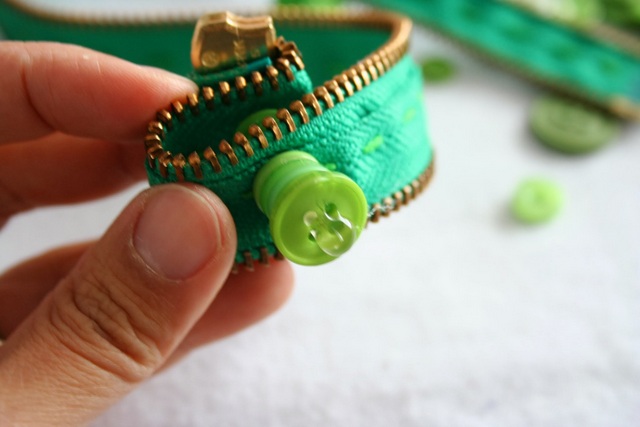

11. Continue as before, gluing the next slightly larger piece of trunk to the zipper and adding more slack each time.

12. When you reach the end, it doesn’t matter too much what length you have left. My red ornament had more remaining and stuck out the end a little. Just fold the last bit over and glue it without a section of buttons. You can usually try to plan it out in advance to gauge how wide a tree you can make.
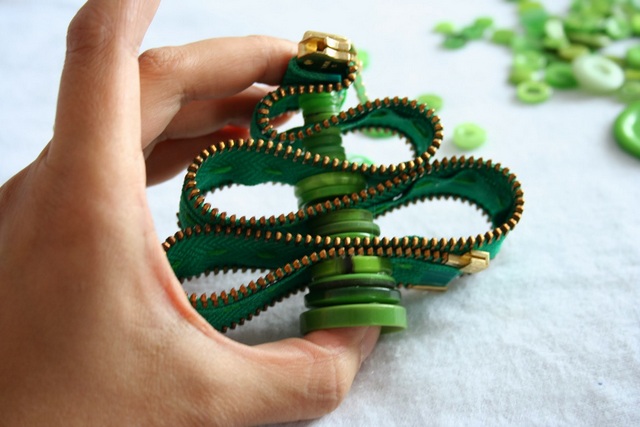
13. Glue the last section of buttons to the bottom of the tree. This trunk portion should have some nice large buttons.

14. Fin!


When I was a kid I always made Christmas ornaments for my extended family. Those are so much cuter than what I made! And I think I might have most of those things on hand – or I could easily grab them at the dollar store. Thanks for the inspiration, and the step-by-step tutorial.
Aren’t they adorable? And easy to make, following Kelly’s instructions. If you do end up making one or some, please let me know; I’d love to see pictures and pass them onto the Purple Workbench.
Wow that’s really nice and a great tutorial!! Love this 🙂
Thanks! I’ll definitely pass on the love to the Purple Workbench.
Thanks for the guest post!!! I’m honoured to be part of your fabulous blog! Homemade gifts really are so special and can easily replace more expensive purchased gifts! Excited to read about your granola next.
[…] here for the tutorial from ‘Urbandepartures‘ or […]